Building your own shed gives you extra storage space and a custom structure that fits your garden perfectly. Many homeowners choose this project to organize tools, equipment, and seasonal items without spending on ready-made options. With basic skills and the right approach, you can complete a solid garden shed over a few weekends. This guide walks through every stage from initial planning to final touches, helping you create a durable structure that lasts for years. Focus on quality materials and careful measurements to avoid common mistakes that lead to weak spots or water damage.
Planning your garden shed project
Start by deciding the exact purpose of the shed. Will it hold lawn mowers, garden tools, bikes, or serve as a small workshop? Size depends on available space and intended use. A 8×10 or 10×12 foot shed works well for most gardens and often avoids strict permit requirements. Measure your yard area carefully and mark the outline with stakes and string to visualize the footprint.
Check local building regulations early. Many areas allow sheds under 120 square feet without permits, but setbacks from property lines, height limits, and neighbor notifications vary. Contact your local planning office to confirm rules before buying materials. Also review any homeowner association guidelines if you live in a managed community.
Choosing the best location
Select a spot with good drainage and level ground to simplify construction. Avoid low-lying areas where water pools after rain. Position the shed for easy access from the house while keeping it out of sight if desired. Consider sunlight exposure—too much direct sun can heat the interior, while shade from large trees might cause moisture buildup on the roof. Clear vegetation and remove roots or rocks from the site.
Materials and tools needed
Pressure-treated lumber forms the foundation and floor frame for rot resistance. Use standard 2x4s for wall framing and 2x6s for floor joists in larger sheds. Exterior-grade plywood or OSB sheathing covers walls and roof. Choose asphalt shingles, metal roofing, or corrugated panels based on budget and style preferences. Siding options include T1-11 plywood, cedar, or smart board products that resist insects and weathering.
| Component | Recommended Material | Why It Works |
|---|---|---|
| Foundation | Concrete blocks or gravel base with treated sleepers | Provides level support and airflow to prevent rot |
| Framing | Pressure-treated 2×4 and 2×6 lumber | Strong and resistant to ground moisture |
| Roofing | Asphalt shingles or metal sheets | Long-lasting weather protection with minimal maintenance |
Essential tools list
- Circular saw for straight and angled cuts
- Cordless drill and impact driver with bits
- Framing square and level for accurate assembly
- Hammer and nail gun for faster fastening
- Tape measure, chalk line, and safety gear
Budget around $800 to $2000 depending on size and finishes. Buying in bulk from lumber yards often saves money compared to big box stores.
Building the foundation
A stable base prevents shifting and extends the life of your shed. For small to medium sheds, concrete pier blocks or a gravel pad with treated timber skids works effectively. Dig down several inches, add compacted gravel, then place blocks or skids level in both directions. Use a long straight board and level to check across multiple points. For larger or permanent structures, consider a full concrete slab poured by professionals.
Ensure the foundation sits slightly above surrounding ground level for water runoff. Add landscape fabric underneath to block weeds from growing up into the structure.
Constructing the floor frame
Cut pressure-treated 2×6 joists to length and assemble a rim around the perimeter. Space interior joists 16 inches on center for strength. Secure everything with galvanized nails or structural screws. Install the frame onto your foundation blocks and check for level again. Sheet the floor with 5/8-inch or thicker tongue-and-groove plywood, staggering seams and screwing down every 6 inches along edges. This creates a solid platform ready for walls.
Framing the walls
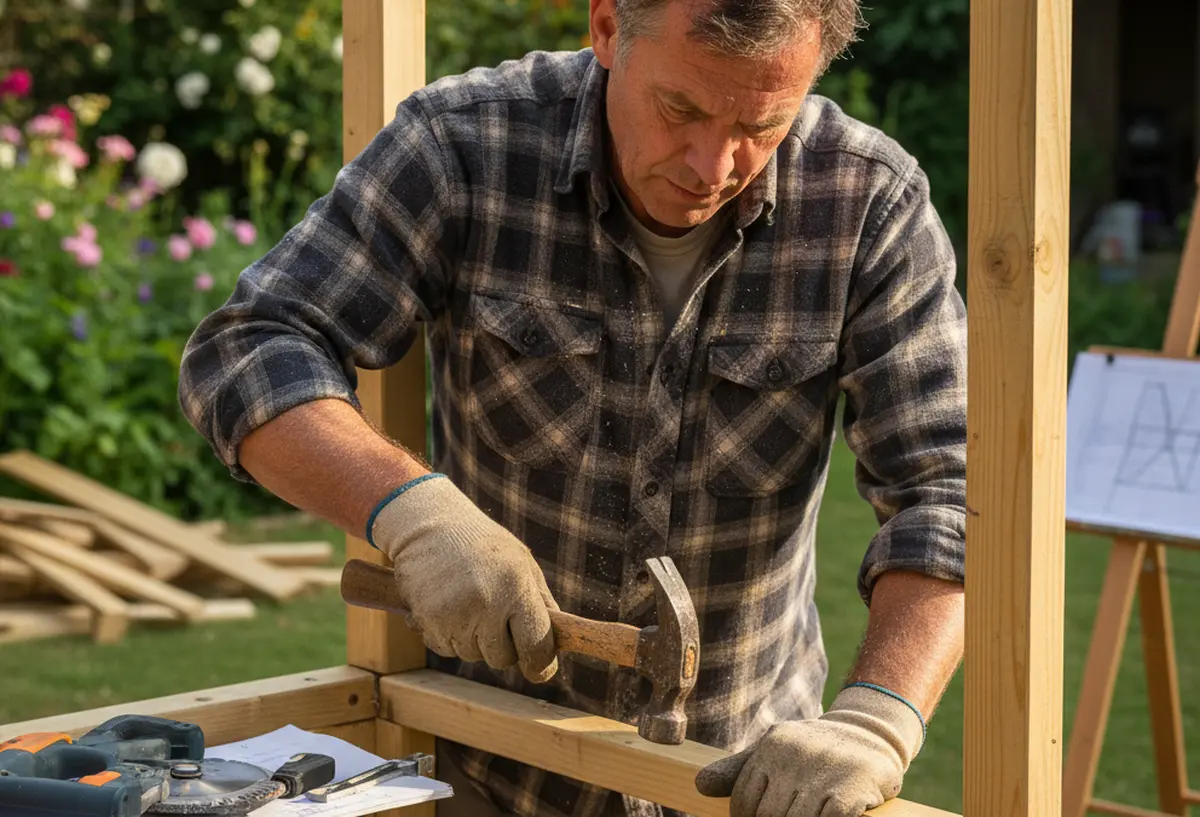
Build each wall flat on the floor for easier work. Use 2×4 studs spaced 16 inches on center. Include extra studs at corners and openings for doors and windows. Frame the door rough opening at 36 inches wide or wider for comfortable access. Raise walls one by one, plumb them with a level, and brace temporarily. Connect corners with nails or screws through the plates. Add a double top plate for added rigidity.
Installing the roof
Cut rafters according to your chosen pitch—4/12 or 6/12 works well for most sheds. Attach rafters to the top plates with hurricane ties for wind resistance. Install ridge board if using gable style. Sheathe the roof with plywood, then cover with roofing felt or underlayment. Apply shingles starting from the bottom, overlapping each row by 5 inches. Install ridge cap last and seal all edges properly. Add fascia boards and gable-end trim for a finished look.
Adding siding, doors, and windows
Attach exterior siding to the framed walls, starting from the bottom. Overlap horizontal siding or stagger vertical panels. Install the door using heavy-duty hinges and a latch or lock. Pre-hung doors simplify this step. Add windows for natural light if desired—double-pane options improve insulation. Trim around all openings with 1×4 boards to cover gaps and enhance appearance. Caulk all exterior joints to keep water out.
Finishing touches and interior setup
Paint or stain the exterior to protect wood and match your garden style. Install shelves, pegboards, or overhead storage inside to maximize space. Run electrical wiring if needed, following local codes and using outdoor-rated materials. Add ventilation vents near the roof to reduce condensation. Place a ramp at the door if you store wheeled equipment. Test the door swing and locks before filling the shed.
Maintenance tips for long-term durability
Inspect the roof and siding annually for damage. Clean gutters if installed and reapply sealant around windows and doors every couple of years. Treat wooden surfaces with preservative every few seasons. Keep vegetation trimmed around the base to prevent moisture wicking. These simple habits keep your garden shed functional and attractive for many years.
Building a shed in your garden rewards patience and attention to detail. Take time with each phase, double-check measurements, and work safely. The result is a custom storage solution built exactly to your needs at a fraction of prefab costs. Many people complete their first shed successfully and gain confidence for future projects around the home.

- How to Build a Shed Foundation: 6 Strong Options for Your Garden Shed - May 20, 2026
- How to Build a Shed in Your Garden: Complete DIY Guide - May 19, 2026
- 20 vegetables to sow in April for a bountiful home garden harvest - March 30, 2026